Take screenshots of a carousel
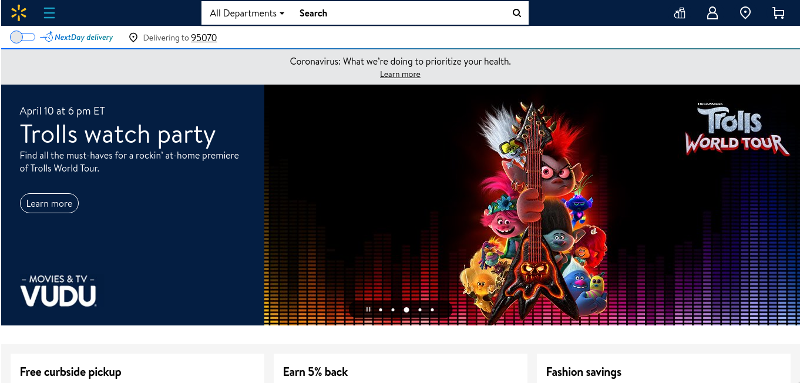
 The new automation steps make it easy to take several screenshots of the same page in different states. This is particularly useful if you want to capture all the positions of a carousel or slider. In this post, we will show you how to take screenshots of all carousel elements shown at https://walmart.com/. At the top of the page, the carousel rotates five different products:
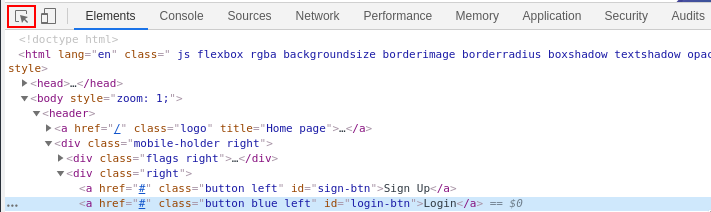
The carousel has five dots that allow the user to manually display an element. With the automation steps, we can click on each dot to move the carousel, and then take a screenshot of the new position. We must get the CSS selector that corresponds to each dot. To do this, press F12 in your browser to open the Developer Tools. In the top left corner of the Developer Tools, click on the mouse cursor highlighted in red below.
Then, click on the first dot in the carousel to select it. This highlights the corresponding HTML code in the Developer Tools. Right-click on the highlighted code and choose Copy > Copy selector:
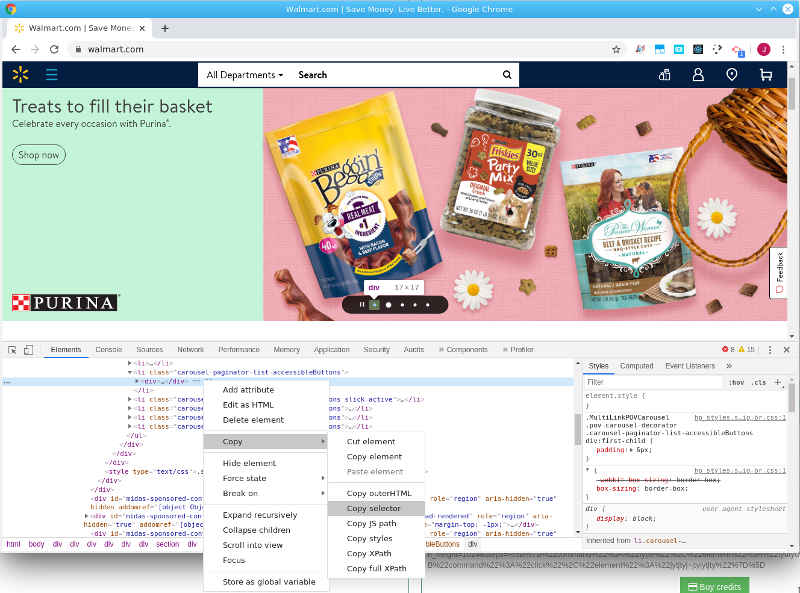
This copied the CSS selector of the first dot. If you paste it in a test editor, you get this value:
body > div.js-content > div > div > div.js-body-content.page-content-wrapper > div > div > section:nth-child(1) > div:nth-child(1) > div > div:nth-child(1) > div > div.slider-decorator-0 > div > div > ul > li:nth-child(2) > divWith the CSS selector, we can create the steps to take a screenshot of the first carousel element. We click on the first dot, then take a screenshot:
{"command":"click", "element":"body > div.js-content > div > div > div.js-body-content.page-content-wrapper > div > div > section:nth-child(1) > div:nth-child(1) > div > div:nth-child(1) > div > div.slider-decorator-0 > div > div > ul > li:nth-child(2) > div"},
{"command":"screenshot"}
We repeat the same process for the next four dots to get the full list:
{"command":"click", "element":"body > div.js-content > div > div > div.js-body-content.page-content-wrapper > div > div > section:nth-child(1) > div:nth-child(1) > div > div:nth-child(1) > div > div.slider-decorator-0 > div > div > ul > li:nth-child(2) > div"},
{"command":"screenshot"},
{"command":"click", "element":"body > div.js-content > div > div > div.js-body-content.page-content-wrapper > div > div > section:nth-child(1) > div:nth-child(1) > div > div:nth-child(1) > div > div.slider-decorator-0 > div > div > ul > li:nth-child(3) > div"},
{"command":"screenshot"},
{"command":"click", "element":"body > div.js-content > div > div > div.js-body-content.page-content-wrapper > div > div > section:nth-child(1) > div:nth-child(1) > div > div:nth-child(1) > div > div.slider-decorator-0 > div > div > ul > li:nth-child(4) > div"},
{"command":"screenshot"},
{"command":"click", "element":"body > div.js-content > div > div > div.js-body-content.page-content-wrapper > div > div > section:nth-child(1) > div:nth-child(1) > div > div:nth-child(1) > div > div.slider-decorator-0 > div > div > ul > li:nth-child(5) > div"},
{"command":"screenshot"},
{"command":"click", "element":"body > div.js-content > div > div > div.js-body-content.page-content-wrapper > div > div > section:nth-child(1) > div:nth-child(1) > div > div:nth-child(1) > div > div.slider-decorator-0 > div > div > ul > li:nth-child(6)"},
{"command":"screenshot"}
With one call to Browshot, and these 10 steps, you will get five screenshots showing the 5 positions of the carousel. If you want to capture just the carousel content, and not the entire page or screen, you can specify to take a screenshot of just the carousel:
{"command":"screenshot", "element":"body > div.js-content > div > div > div.js-body-content.page-content-wrapper > div > div > section:nth-child(1) > div:nth-child(1)"}Creating this kind of automation can be difficult at first. We are here to help. Don't hesitate to contact us if you need assistance.